
Making a Christmas bow is as easy as 1-2-3. It doesn’t get any easier than using this method.
This simple Christmas bow is created using 4 pieces of ribbon, no fancy loops, no twisting around your thumb, and no complicated tutorial that you need to watch 3 times before you understand it.
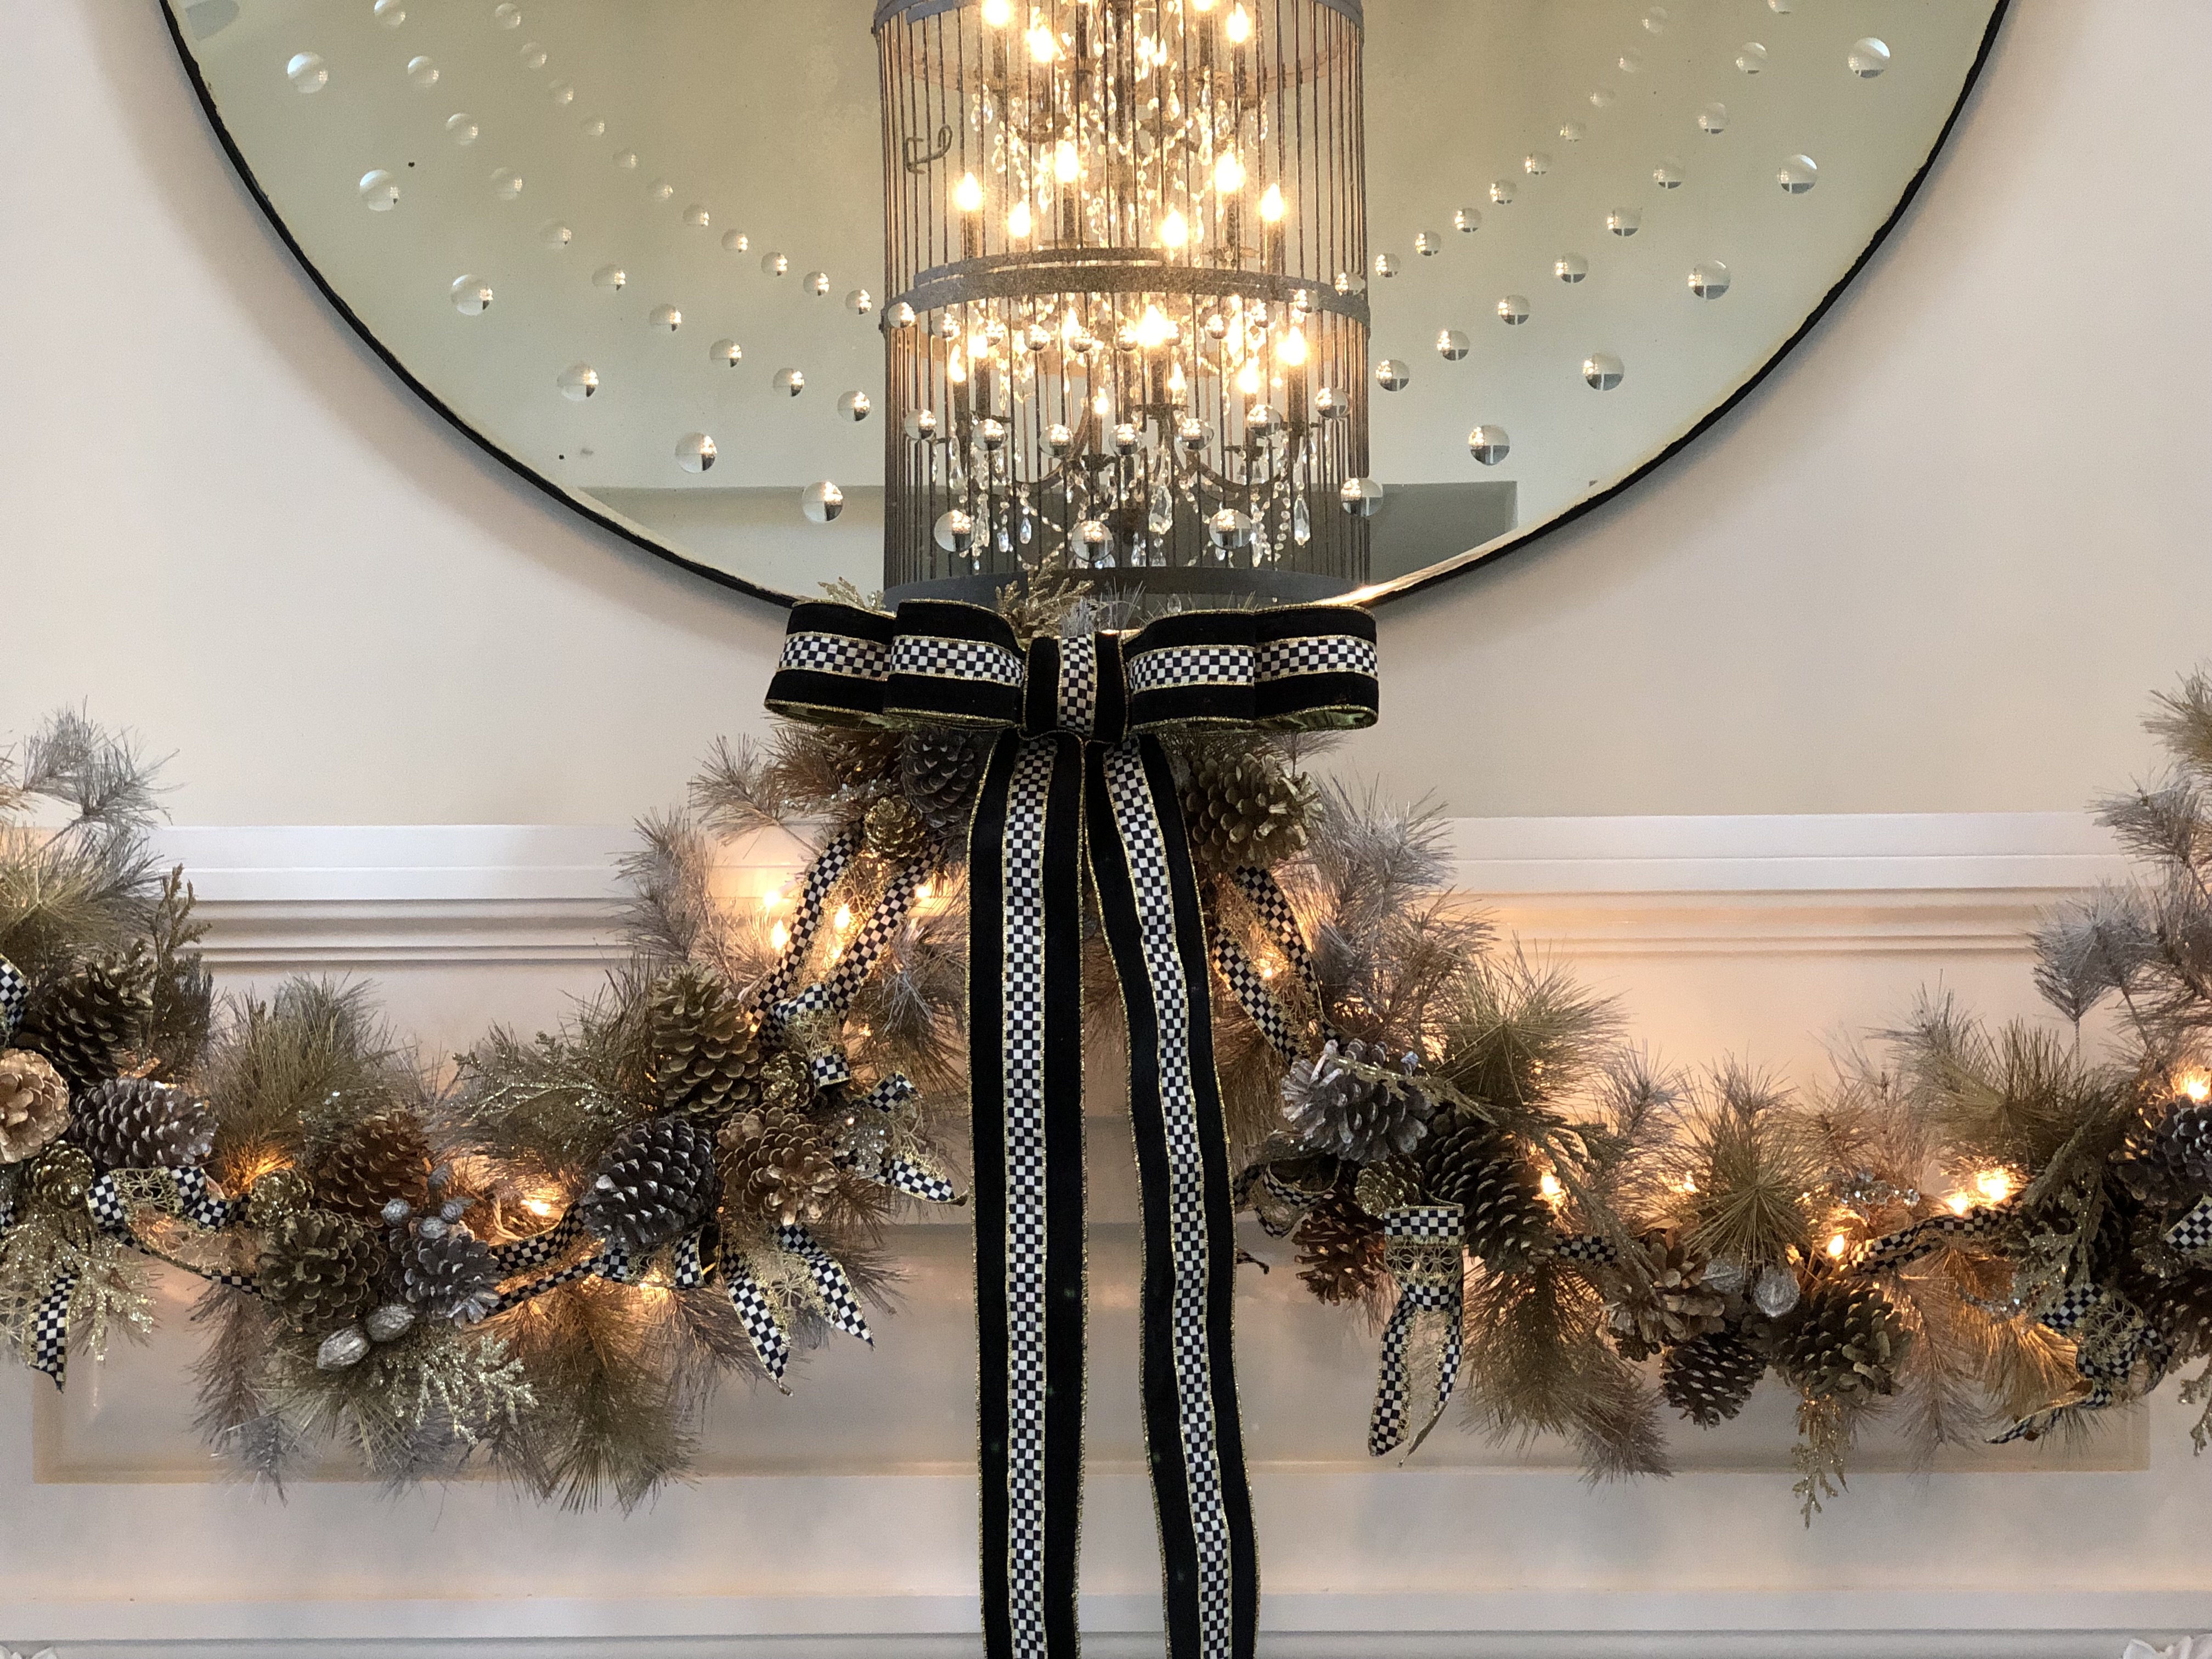
I put together a simple bow to use on my mantle as the center point for my new garland from Mackenzie Childs HERE. I wanted a long tail to hang down, but you can use a shorter piece of ribbon for your tail.
 Now that we have completed the One Room Challenge “Home Wine Cellar” – One Room Challenge – Final Reveal I am in full on Christmas decor mode! I have so much to do, I like having all my decorations up before Thanksgiving. What about you, do you wait until after Thanksgiving to decorate for Christmas?
I want to share this simple tutorial for a bow I made today. To make a 16 inch wide bow, you will need to cut 4 pieces of your favorite ribbon. I used this beautiful velvet ribbon from Mackenzie Childs HERE. I almost felt guilty cutting it, but it made no sense to keep it together, it wasn’t as useful to me. I bought 2 rolls (20 yards) of it and used the rest on my trees, and this was left over, the perfect amount to make a bow and tie my decor together.
 Altogether I used 4 yards of ribbon to make this bow. The tail was 2 yards and the other 3 pieces totaled 2 yards.
To make a 16″ wide bow you will need:
- Stapler or hot glue gun
- 2 yards for the tail (72 inches)
- 1 yard (36 inches) for the large loop
- 30 inches for the smaller loop
- 6 inches for the center loop
 To make the largest loop, fold over both sides of the ribbon so they meet in the middle, and overlap just a bit.
 Using a stapler, staple the pieces together.
 I stapled through both layers of the ribbon.
 Repeat the process for the second loop.
 Place the smaller loop on top of the larger loop.
 Staple the two loops together.
 I used three staples.
 Turn the bow over and wrap the smallest loop around the bow and staple together.
 Do not staple through all the layers.
 Lastly, using the longest piece, the tail, pull it through the center loop and let it hang naturally. You can attach the tail to the bow using the stapler but it’s not necessary.
 Voila, you have just made the world’s easiest bow 🙂 How will you use your bow?
 I will share more pictures of this room soon!
For more Haute Home posts and Holiday inspiration, subscribe to Happy Haute Home and follow along on Pinterest HERE, and Twitter HERE and feel free to pin and tweet your favorite pics from Happy Haute Home.
You can also get daily home decor inspiration by following along on Instagram HERE.


That did look easy Denise Thank you for sharing that. Did you also do the small ribbon running through your garland & the bows? Very, very pretty. Can’t wait for your next post. Donna
Hi Donna! The garland came with the ribbon and bows already interwoven into it, I purchased a similar ribbon to use as my accent bow. If I can cut a few corners here and there…I’m all in! 😉
Anymore I am too. You were lucky to be able to find a similar ribbon to the small one. Usually I am not that lucky!! Where did you get the garland?? So pretty.
The garland came from Mackenzie Childs as did the ribbon so they match nicely 🙂
Fabulous Denise! I’m definitely going to try this bow method – way easier than the way I’ve been doing it! 🙂
It is one of the simplest bows around. So glad you found it Barbara!