
Welcome to Week 3 of our Master Bathroom One Room Challenge™. Happy Haute Home is joining this Spring as a Guest Participant. This event is a widely anticipated biannual event every April and October. Each round, twenty design bloggers take the challenge and transform a space. Every Wednesday, the designers document their process while sharing their sources and professional advice over the six weekly posts. This challenge is hosted by Linda at Calling it Home.
If you missed my prior posts for our master bathroom renovation, you can catch up here on plans, budget and progress.
This project definitely has its up and downs. This week, we ran into another issue. Thank goodness we are remodeling this bathroom, otherwise, who knows when we would have found these problems!
The new white plantation shutters are being installed over the Bathtub and in the water stalls this week, so crisp, clean and private – They look great!

Here we go again! We found another leak. This one is coming from the toilet in one of the water stalls. We discovered it when we removed the tiles. Ugh!!! Repair of sub flooring begins!! I’m so happy we have discovered this leak now before it could get any worse.
The old countertops have been removed and we are waiting for our new granite countertops to be installed.
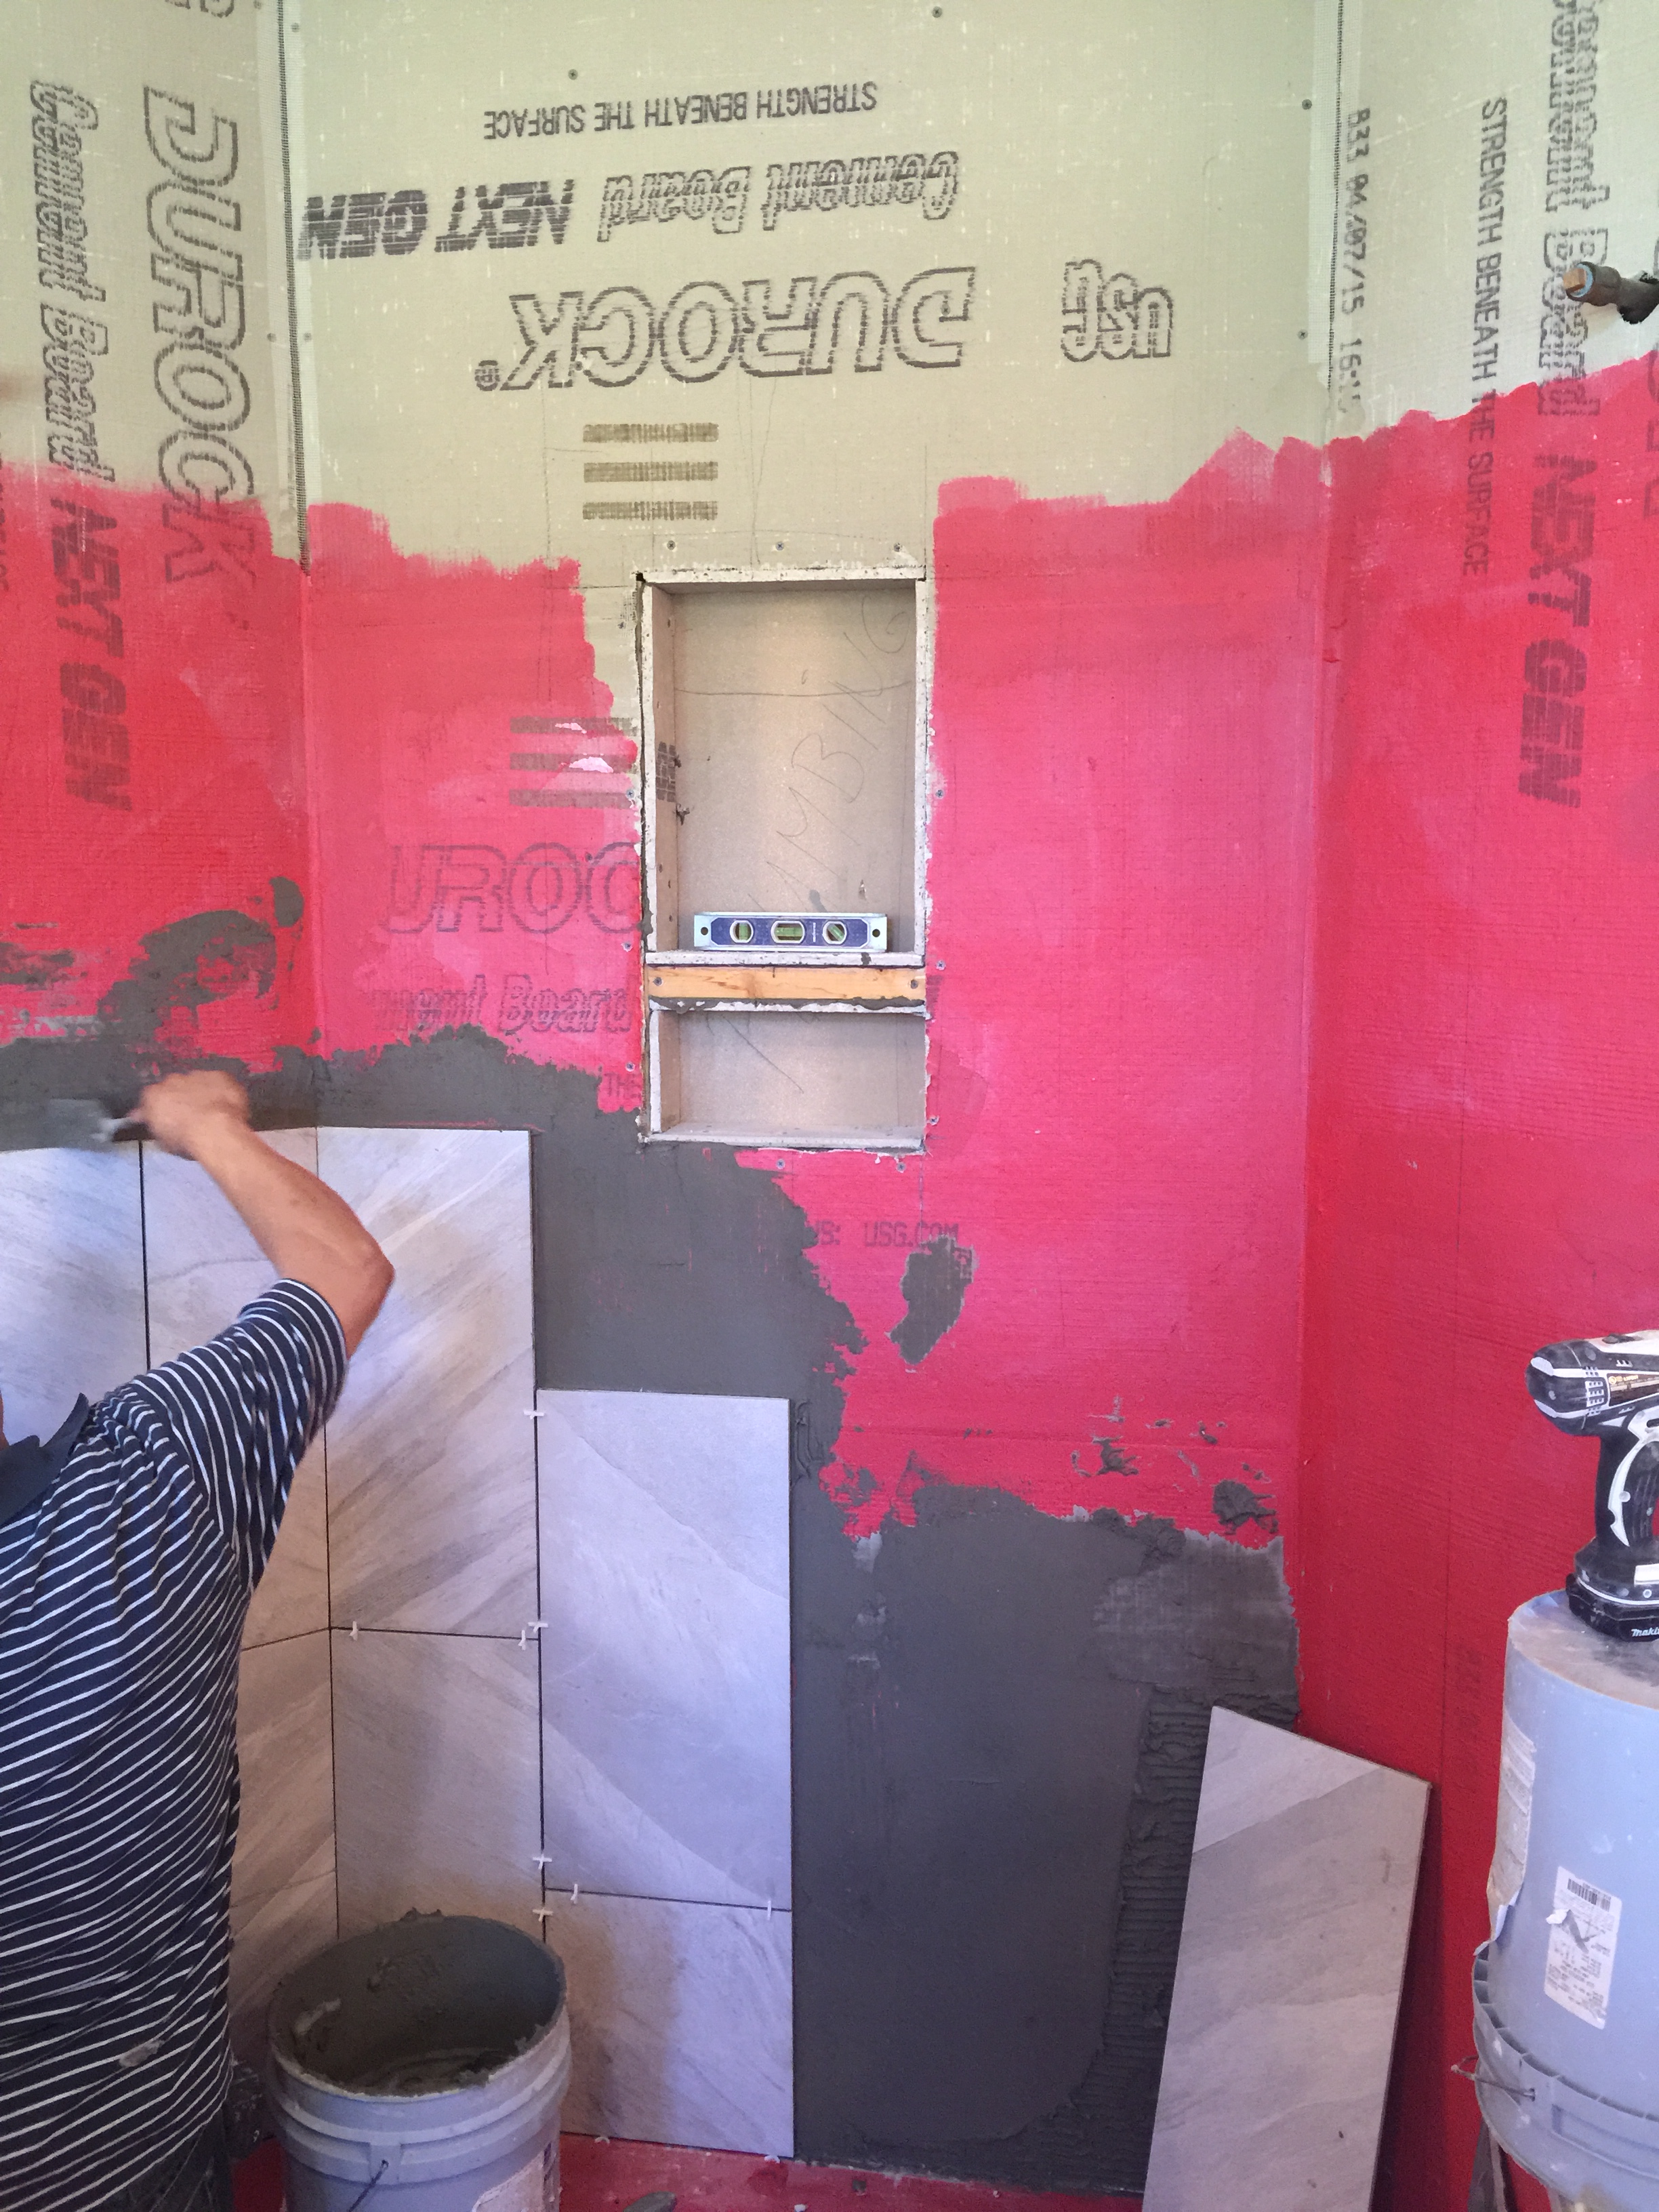
The cutout for the shower shelf is done and tiling of the shower begins! My original plan was to lay the tiles horizontally in the shower, but when they started to go up, I didn’t like the look with the angles in the stall, there would be too many cuts. If the wall was flat, and didn’t have any angles, I think laying them horizontally would look great. I changed my mind at the last minute and my contractor is installing them vertically. The tiles are sized 12″ x 24″.
So far I love it!
We have one contractor working on installing the shower tiles and another is installing the floor tiles, which are also 12″ x 24″. Spacers are being used between the tiles to get a precise grout line.
You’ll notice in the picture below where the plumbing work was done on the ceiling to install the rain head shower system.
I decided on a contrasting look for the shower shelf by installing one of the darker floor tiles in this space.
The grouting has begun and so far so good!
At this point, I’m feeling less stressed at seeing the shower tile design, it’s turning out better than I imagined!
I decided to hang the tiles horizontally on the outside of the shower stall for a contrasting unique look. The dark charcoal tiles in the main area of the bathroom look awesome!
All the grouting in the shower has been completed! The stones on the shower floor have been installed and it all looks amazing, I’m so happy!!

The stones feel so nice underfoot. I can’t wait to take my first shower!
Stay tuned for Week 4 of our Master Bathroom Remodel, when we will be installing our free standing tub!

