
Welcome to week 2 of our Master Bathroom Renovation. Happy Haute Home is joining this Spring as a Guest Participant with the One Room Challenge™. This event is a widely anticipated biannual event every April and October. Each round, twenty design bloggers take the challenge and transform a space. Every Wednesday, the designers document their process while sharing their sources and professional advice over the six weekly posts. This challenge is hosted by Linda at Calling it Home.
Progress is going well, and I’m feeling good. If you missed the Week 1 (HERE) post, check it out for our renovation plan, budget and before pictures.
This week, we have the plumber lined up, and demolition of the shower begins. I have changed my mind so many times on items we want to include in our bathroom renovation. But I believe, we have finalized our decisions. We created a design board to showcase all the items in one place. We decided on a “gray” theme for the reno, using the backsplash pictured on the Board as our main focus. It has such beautiful colors of green, blue, gray, white and brown and we created the theme around these tiles.
The dark charcoal tiles will be used on the floor of the bathroom, the lighter gray tiles will be used in the shower and the stones will be installed on the shower floor for a spa like feeling. We are leaving the overall design of the shower in tact, with an octagon shape and shower seating in the stall. We are also installing a free standing tub and faucet, and painting the cabinets white.
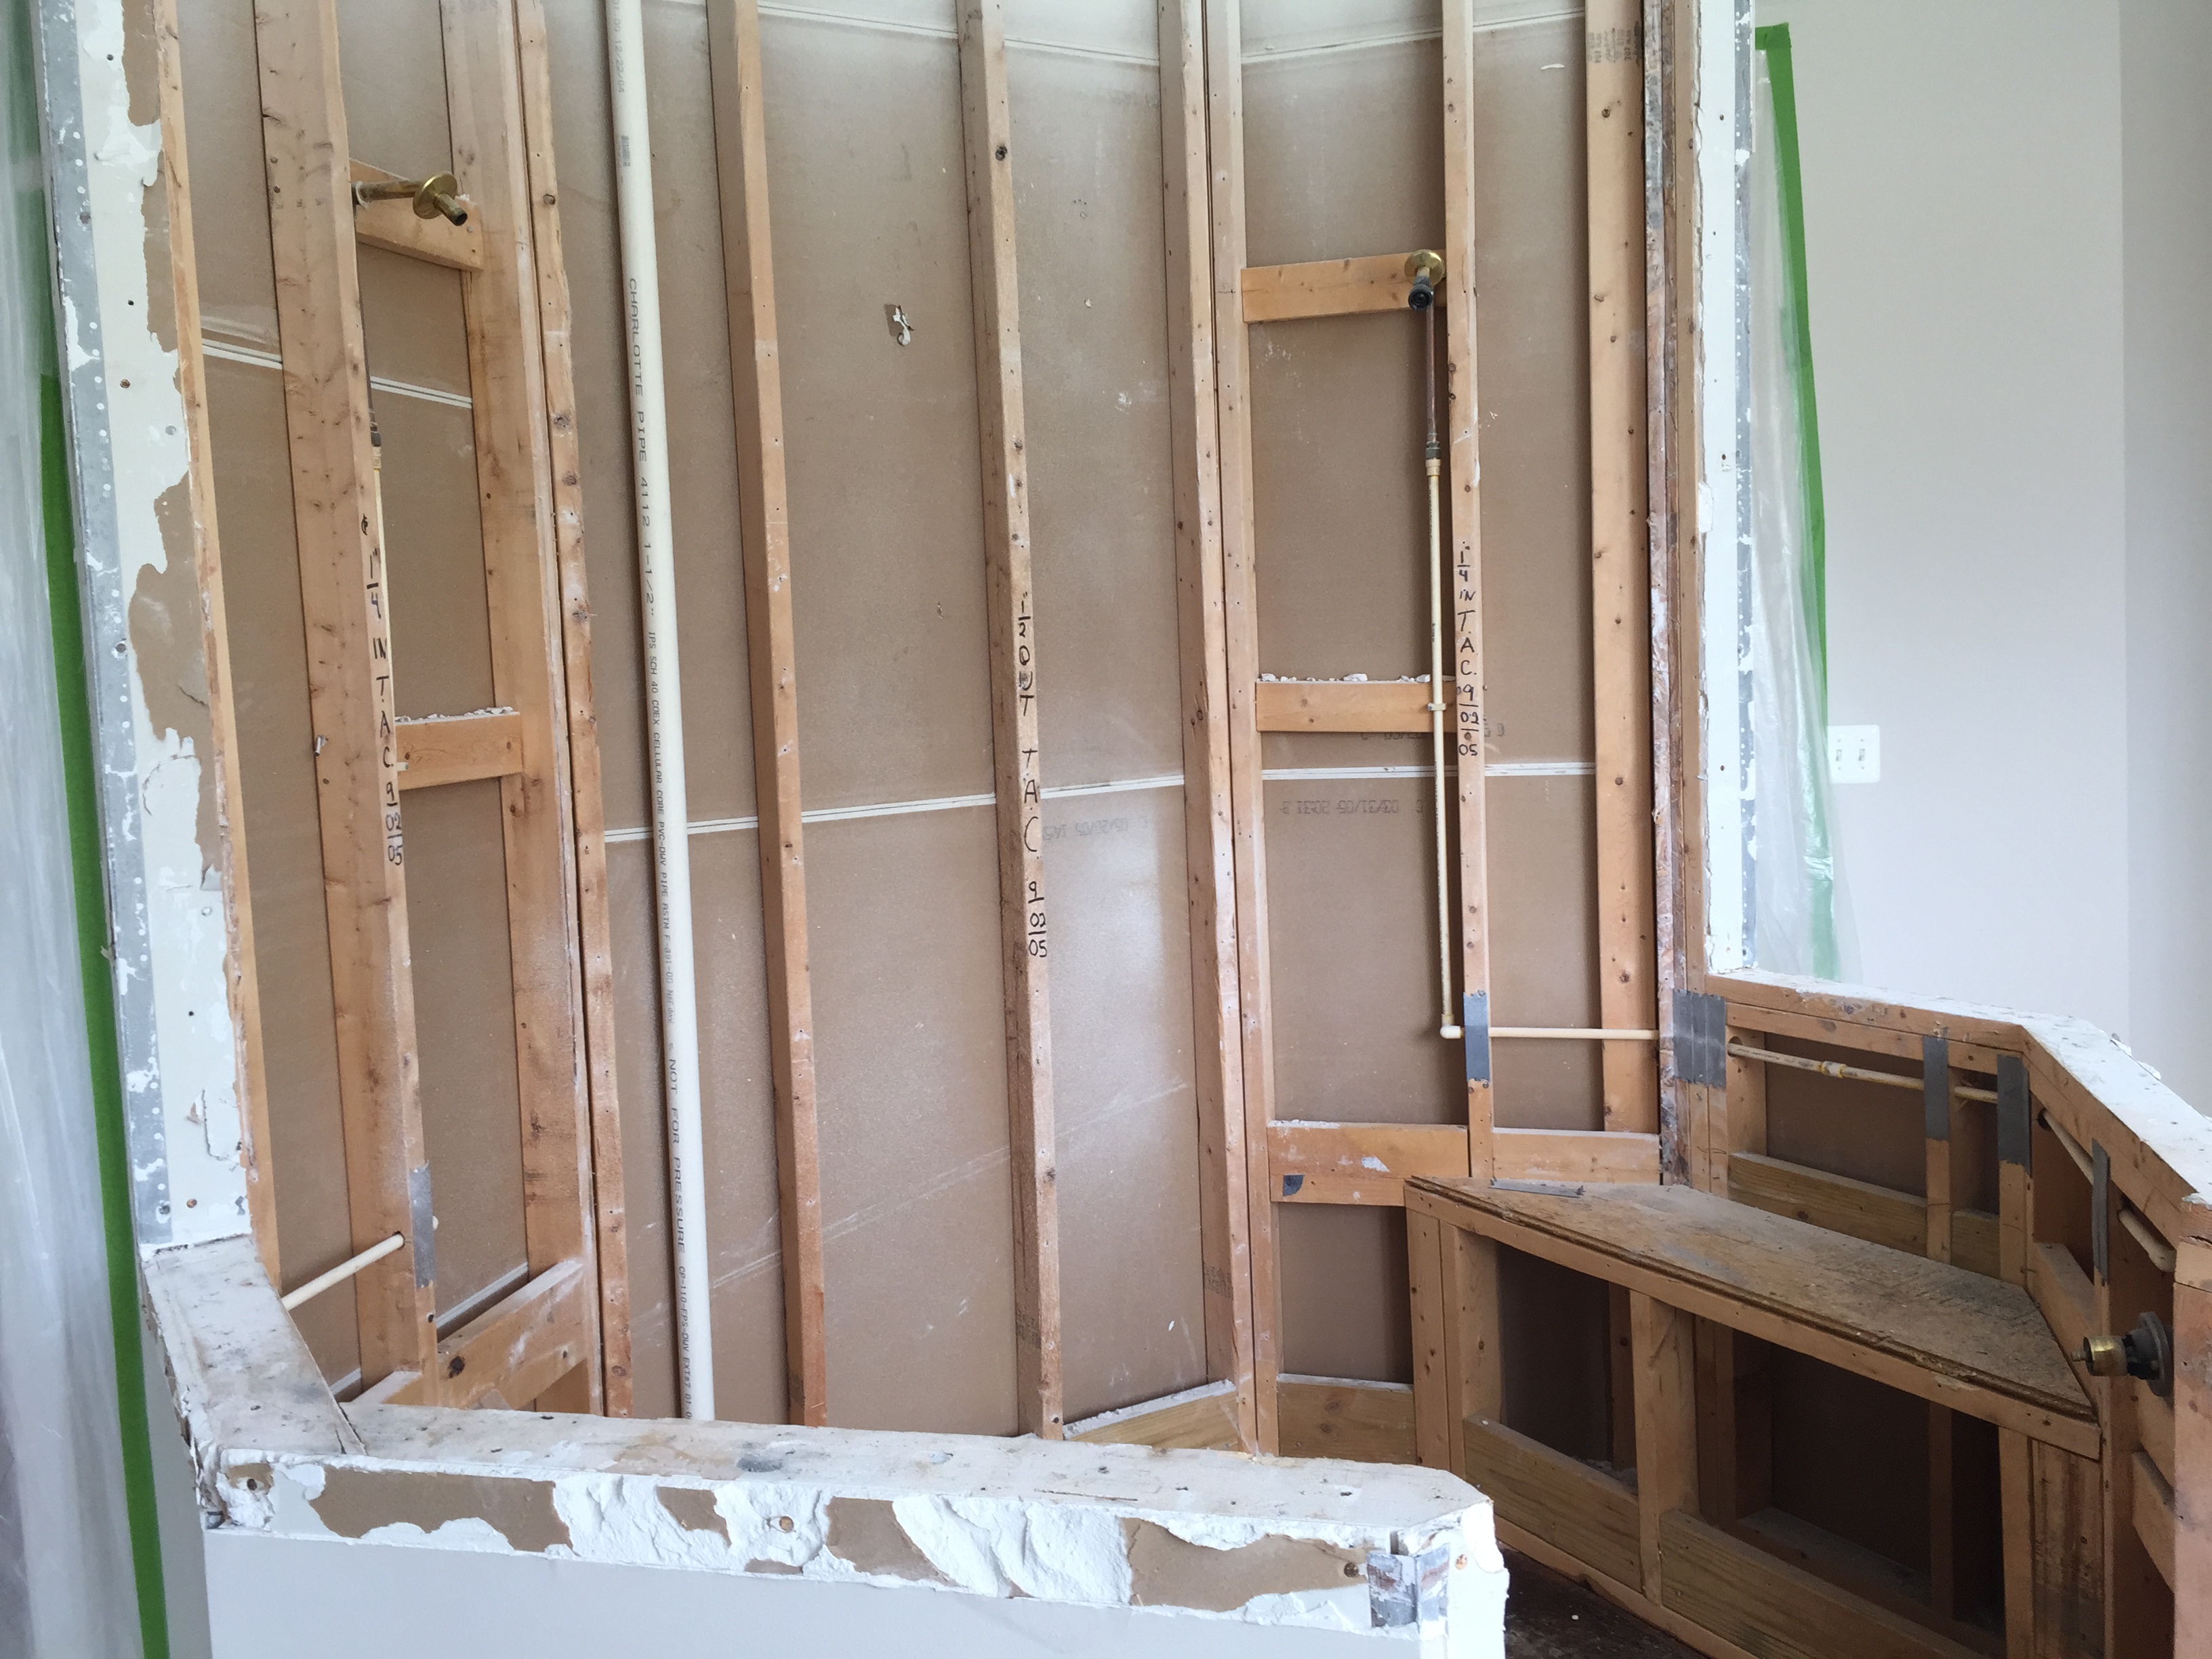
The old shower tiles are being removed from the shower walls and shower floors. Tiles do not easily come off of drywall, so it is easier to cut the drywall out with the tiles still attached. It’s a strange feeling to see these tiles come down, it’s both exciting but unnerving as well.
My closet is being taped shut with green tape to prevent dust from entering the room. I took some items out beforehand – but chances are I am going to have to break through that tape to get to items I left behind.

The floor tiles are also being removed, along with the ones on the outside of the bathtub. In addition, the adjoining room was taped to prevent dust from entering that room as well.
Uh oh, first problem we encounter! This doesn’t look good! Water has started leaking through to the sub flooring! Luckily my contractor knows exactly how to repair and fix the sub-flooring and how to prevent this in the future. He is suggesting to add a rubber lining to prevent the water from leaking out of the tub. He is very experienced, so I’m taking his advice! 
Durock boards are being added to the shower walls and a sandy substance is added to the shower floor. The rubber lining has been installed and the shower floor drain installed. The flooring substance needs to dry completely before any other work can continue in the shower.
The plumbing work has begun! Our plumber added new piping for the hand held shower system and the rain head in the ceiling. A new diverter has been added, so we can switch between the hand held shower and the rain head system. Check out these abrasive cutting tools for your next big renovation.


A special paint is added on top of the Durock to protect it from water.

Stay tuned for next week, as we continue our master bath remodel!

I LOVE the charcoal gray tile!! And the tub!
The tub rocks! I love it too! Thanks