

Have you noticed all the velvet pumpkins in the stores this season? They are beautiful and a perfect Fall decor accessory for the home. But have you also noticed the price tags?
I’m going to show you how to make your own velvet pumpkins for way less, and it couldn’t be easier! If you know how to sew on a button, you can sew a pumpkin.

Here is what you will need.
Stretchy fabric, such as velvet or velour
Real stems (dried) from pumpkins, squash, gourd, or anything with a stem
Glue Gun (HERE)
Beans
Poly-Fil (HERE)
Needle and Thread
 The stretchy velvet selection at Joanne’s wasn’t very impressive, so I used a panne fabric for my pumpkins (HERE) , (not to mention real velvet fabric is expensive)! Panne is very reasonably priced and one yard is plenty to make several pumpkins, I made three and have material left over.
 Using a dish plate for your template, cut around the plate with a pair of sharp scissors. If your circle isn’t perfect, no big deal.
 With a needle and thread, sew around the edges of your fabric.
 Pulling gently on the thread, gather the fabric together. Add some filler and beans until you’re happy with the density of the pumpkin.
 The fabric gathers nicely and creates attractive pleats.
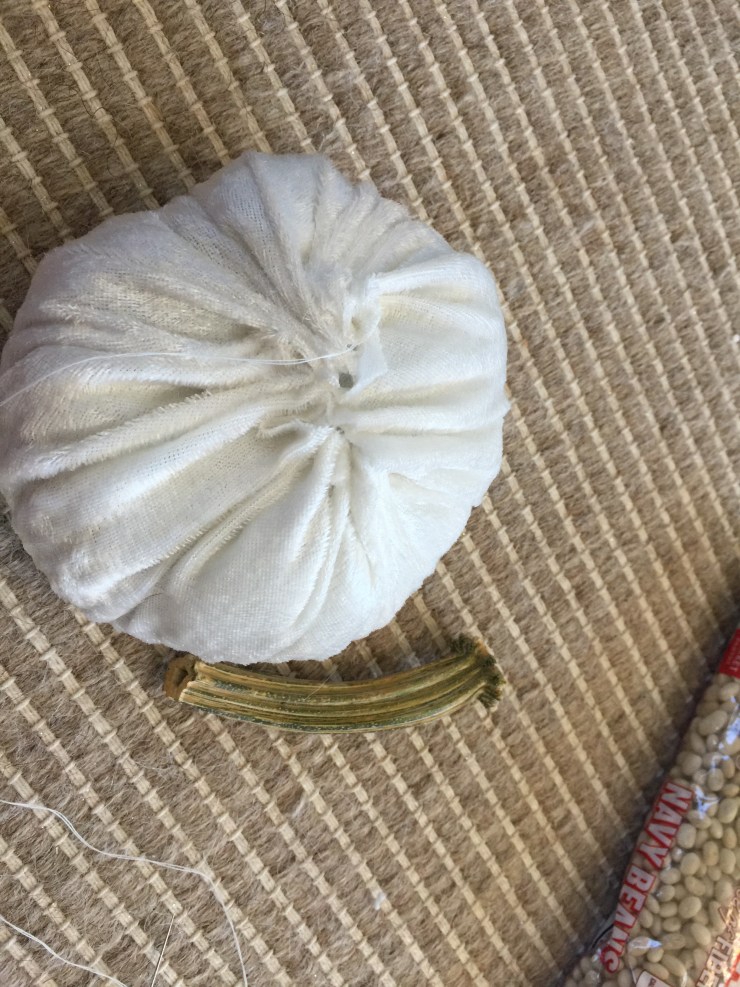
 Sew up the hole by weaving in and out several times until all the ends are sewn together. Make sure to finish with a couple knots so your pumpkin doesn’t come unraveled later on. If you’re satisfied with the look, you can stop here and attach your stem with a glue gun.
 To get more of a natural pumpkin shape, take the needle and stick it through the top until it comes out the bottom and reinsert it back into the bottom until it comes out the top and repeat several times, pulling on the thread each time to tighten it and get that natural pumpkin shape.

 Lastly, using a glue gun, attach the stems to the pumpkins.
 They turned out perfectly and were so easy to do. I used 2 different plate sizes for smaller and larger pumpkins.
 Give it a shot! Try different fabrics besides velvet for real designer pumpkins. Hope you enjoyed this tutorial, feel free to pass it along and share.
For more awesome craft and DIY ideas, subscribe to the blog and follow along on Instagram (HERE)


Those turned out great! Love your tips! I’ve always wondered how to make one. Thanks!
Happy you stopped by, Thank you!
What a great idea–so pretty!
Thank you, and it was so easy too!