

We’ve all seen the infamous farmhouse style magnolia wreaths made popular by Chip and Joanna Gaines from HGTV’s Fixer Upper. They are hard to miss because they are everywhere!!!
Personally, I like magnolia leaves and the magnolia wreath concept, but they are a bit plain for my taste and have become very common. If you’ve been following me for a while, you probably know my style – the bigger, the badder, the bolder, the better!!
I’m looking for a more original idea, so I want to try a slightly different take on the magnolia wreath concept to use on our kitchen doors. I will attempt to make eucalyptus wreaths with white berries, and a white burlap ribbon. (I say attempt because I have never done this before, so not sure how it will turn out).
Whether you are making a magnolia or eucalyptus wreath, finding the right leaves to use can be frustrating. I chose to use artificial leaves for my wreaths but using fresh leaves is a great alternative. The biggest challenge is to find good quality artificial leaves that don’t look cheap.
I have seen many artificial wreaths in stores that look very cheap and expensive in price. My goal is to find attractive leaves that look natural and are reasonably priced. First stop…Hobby Lobby HERE. I found these bunches of eucalyptus leaves at 50% off, so $8 a piece. I used 3 bunches for each wreath. I found similar ones online HERE.
To make one wreath with berries and ribbon you will need
- eucalyptus leaves
- grapevine wreath
- burlap ribbon
- hot glue gun
- wire clippers
- wire to attach ribbon to wreath
- berries
- stapler
 *This post contains affiliate links for your convenience *
This pretty grapevine wreath is from Hobby Lobby, I found similar ones HERE.
Start by clipping off the individual stems from the branches.
 I kept the branches separated in 3 groups, so I would be able to keep track of how much I was using to ensure proper spacing around the wreath.
 Using a glue gun HERE, glue the ends of the stems and tuck each stem into the crevices of the wreath.
 Continue to glue each stem to the wreath following the same direction.
 Work your way around ensuring you will have enough stems to complete the wreath. You can always add additional stems when you are finished if you prefer a fuller wreath. I like the look of the grapevine showing, so 3 bunches of stems was enough for me.
 For the berries, I used white pearl finished stems I found at Michaels. I also glued them and evenly distributed them around the wreath.
 For the bow, I used white burlap ribbon HERE. I cut the ribbon into 4 pieces, two 24″ pieces, one 20″ piece, and one 5″ piece.
 Using the 24″ piece and the 20″ piece, create an oval and glue them together.
 Glue them on top of each other.
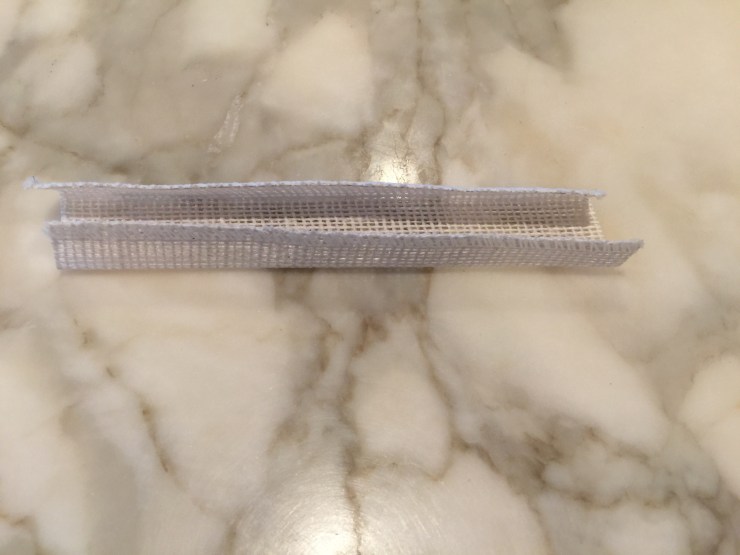 Using the 5″ piece, fold it into thirds.
 Insert the 20″ piece into the bottom of the smaller loop and wrap it around the bow.
 Staple the small looped ring together.
Our wreaths are complete! Not too shabby for a novice.


Feel free to tweet, pin, and repost this article. Follow along on Instagram HERE and subscribe to Happy Haute Home to get bi-weekly posts delivered to your inbox.
I wish all of you the Happiest of Thanksgivings and thank you for visiting.


I love this..
Thanks Denise.
So beautiful. I love the simplicity of its lines and the lovely white ribbon. Thanks for showing us how to create it. I’ve always been a bit intimidated by making wreaths! Love this!
Hi Lynn, I completely understand. I was intimidated too, the is the first wreath I have done, and it really was very easy. Give it a shot!
Just lovely. It’s funny how such a simple project can make such a huge impact. Happy Holidays!
Thanks. Happy Holidays to you too!
you are a genius, absolutely gorgeous. Well done! Eucalyptus is a well loved green leaves and I love using them in my flower arrangements.
I love Eucalyptus too! Thank you for your sweet response:)