
We’ve all seen the fancy glossy magazines that comes out at Christmas with the insanely gorgeous professionally designed and decorated Christmas Trees!
I have admired designer trees for 15 plus years. I have purchased many trees and ornament sets created by designers over the years as well. I look forward to seeing what they come up with each season and learning from their ideas. Sometimes I will try to replicate the look, others times I will take tips and tricks to create my own unique tree.
Since I put up several trees in our home, I try to have a different theme for each tree and room. Last year, our foyer Christmas tree was the one that held our families special ornaments and memories. Each year we buy a few new ornaments that symbolize a special event in our lives, like a family trip or a particular moment like bringing our puppy home or other special events such as our wedding, children’s birth, and activities we love. Having a different theme for each tree and room is my favorite way to decorate for the holidays.
Today, I am sharing the five steps I use to create a designer looking tree. By following these steps you can create one as well. Happy Haute Home is now on Youtube and my first video on decorating my tree is LIVE, check it out! How to Decorate a Christmas Tree Like a Designer
I start out with my favorite 10 foot flocked tree SIMILAR HERE.
*Affiliate links have been added for your shopping convenience* 
Five Steps to Creating a Designer Christmas Tree
Step 1) 3 Tips to Setting up a Christmas Tree Like a Pro will guide you through the process of preparing your tree for decorating. Proper fluffing is critical to the look of a tree, this step can make or break the appearance of a Christmas tree. Very important not to skip this step, it’s my least favorite part of the decorating process but I put on gloves and spread til done.
 Step 2) Add branches, stems, and fur ribbon to the tree. I first add my snowy branches with miniature pinecones and let them loosely hang out of the tree. They look really pretty and give the tree more depth and interest.
 I also attach additional pinecones with berries. I like to add pops of red to my flocked tree. I don’t want to add too much of the color, which can take away from the white appearance…so I go easy with additions of red. I want red to be a secondary color on the tree, not the primary color.
 Add fur ribbon or boa feathers to create a snow fallen look. This year I used boa feathers HERE and let them loosely drape over the branches, closest to the tips. Last year, I tucked fur ribbon HERE deep into the tree for a different look, check out Tips and Ideas for Decorating a Flocked Christmas Tree 2018.
 I also used a few fur flowers to fill gaps between the branches.
 Step 3) Add the ornaments, by size. I add the large ones first, then the medium ones then the smallest and disperse them throughout the tree. The smaller ones look best placed near the top of the tree, where the tips are shorter. I also place small ones deep into the tree to create layers.
 Another little trick I use to fill gaps, is to place white snowball ornaments on top of branches instead of hanging off a branch. I only do this with non breakable ornaments, as they can occasionally fall off the tree. The ones I use stick well to the branches and stay rather secure, as they have a prickly texture.
 Step 4) Add ribbon. This year I added two different kinds and colors of 4 inch ribbon to my tree. I overlapped them and created wide loops, starting at the top.
 After creating a wide loop, I tuck the two ribbon pieces into the tree and secure it to an inside tree branch with a zip tie HERE. Using zip ties work well especially when using 4 inch ribbon. If you are using 2 inch ribbon, you can secure the ribbon with a branch and don’t need zip ties. Check out How to Decorate a Christmas Tree with Ribbon.
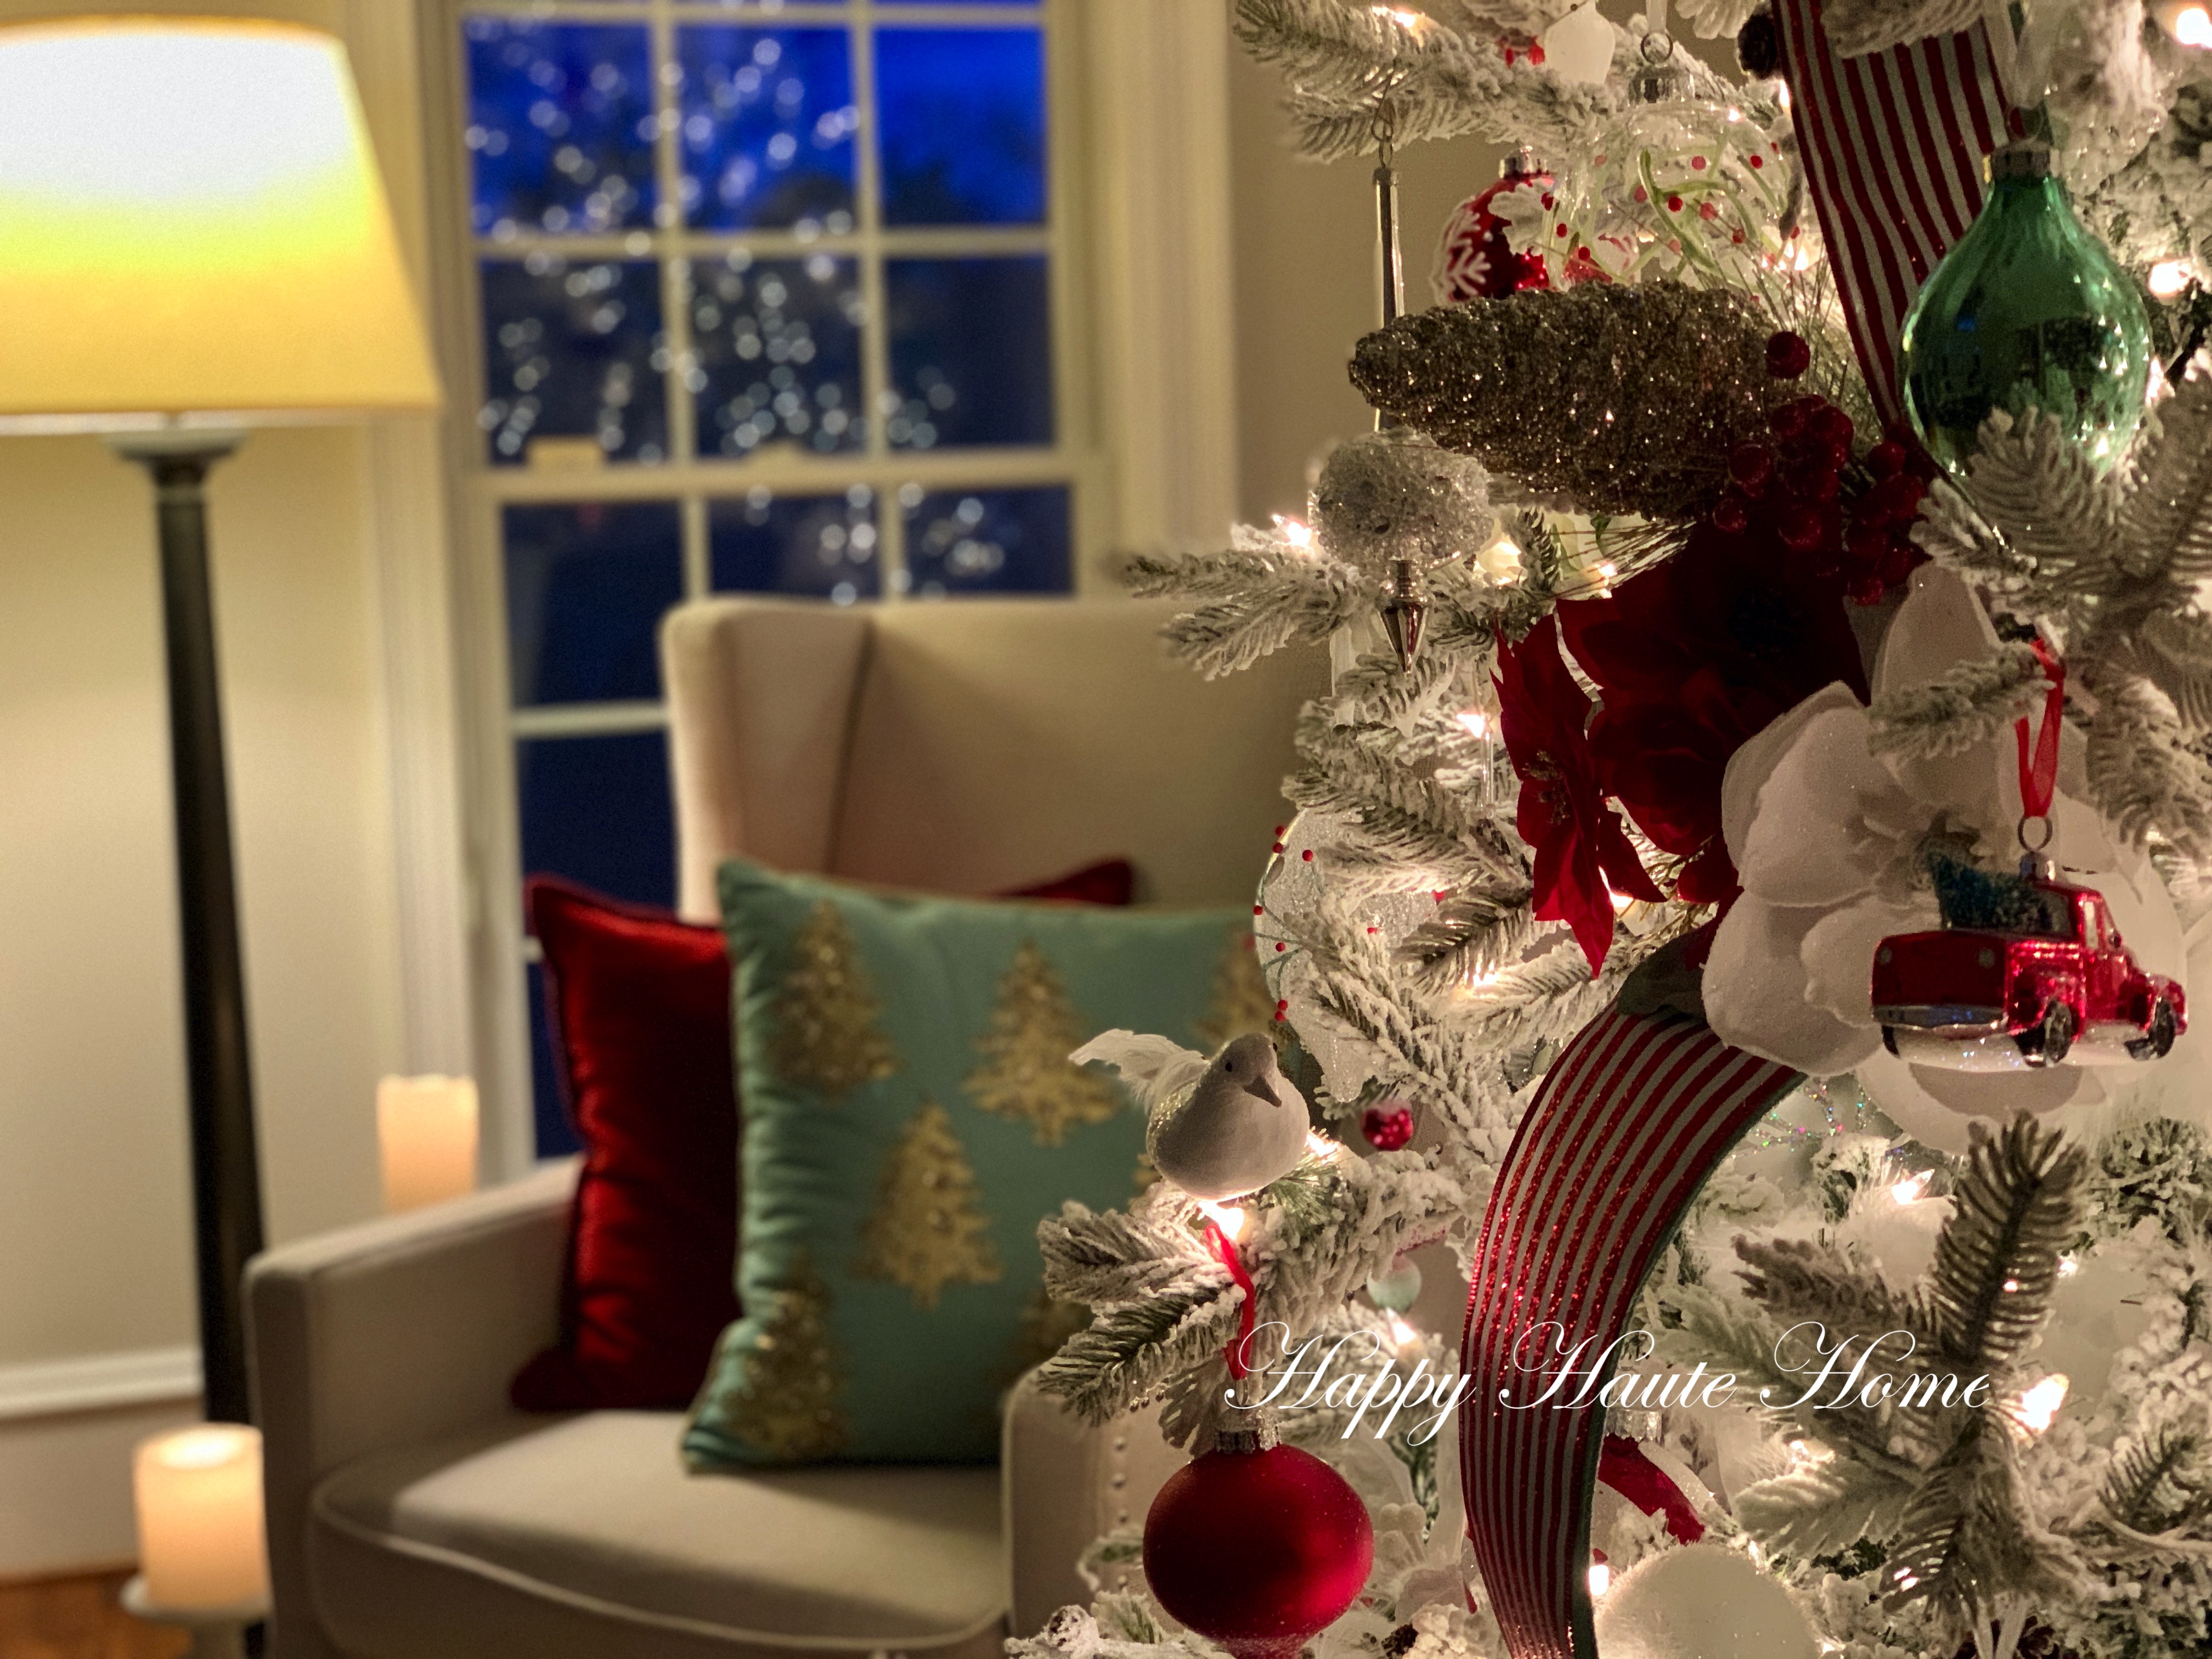
 In each area that I tucked the ribbon inside the tree, I add a cluster of stems, such as berries, red poinsettias, a white magnolia flower, and glittery pinecones. I secure the cluster together with a zip tie as well, as it is quite heavy and sits nicely on the branches when secured.
 Step 5) Lastly, I add my topper to the tree. This is the beginning of my tree topper, I will show you more detailed photos and how I make a topper in an upcoming post.
 The clusters are arranged at varying heights on the tree, never in line with each other. I use a zig zag pattern when tucking the ribbon and adding clusters. When they are placed like this, the eye is drawn to each cluster.
It’s hard to take a picture in my home without Bentley photo bombing each time, he seems particularly interested in the trees and eating the flocking off the floor! Blah!
I will have more pictures to share when I do a full room tour. Stay tuned!
Do you have any tips and tricks for decorating your tree? I’d love to hear them.
Denise
XO
Subscribe to Happy Haute Home to Get all the Juicy Details
For more informative posts about holiday decor, please subscribe to Happy Haute Home and follow along on Pinterest HERE, and Twitter HERE and feel free to pin and tweet your favorite pics from Happy Haute Home.
You can also get daily home decor inspiration by following along on Instagram HERE


I love your tree as much as Bentley does, although I won’t be eating the flocking off the floor! 🙂 This is gorgeous Denise! I usually do my ribbon horizontally, but maybe I’ll try this – it’s a whole different look – really pretty! Thanks for all the great tips, and Happy Decorating! 💗
Hey Barbara! So glad you like it! There are so many different ribbon methods, I like to use a variety with each tree. Can’t wait to see yours my friend!