
Who loves Spring?! Who loves flowers?! Who loves Spring and flowers?! Me TOO!
I went for weeks without any fresh flowers in my home, and now they are everywhere! I don’t think I bought any flowers the entire month of February, and since we were away on vacation for part of the month, I didn’t have any in our home on Valentine’s Day. But that’s ok because we enjoyed a fabulous meal while Dining at the Edgewood Restaurant in Tahoe on Valentine’s Day.
But I am more than making up for that in March 🙂 Last week, I shared How to Assemble an English Garden Basket and today I will discuss arranging a Spring Floral centerpiece. It’s a very similar concept to the garden basket using instant foam but a different flower combination.
Step by Step Guide to Creating a Spring Floral Centerpiece
 Playing with different flower combinations is exciting. Finding complimenting colors and styles is fun and I love to mix and match. It takes a while to figure out what looks good together but digging in and playing around is the first step. Each season will also predict variety choices which can help in deciding color and flower combinations.
What You Will Need to Make a Spring Floral Centerpiece
To make this centerpiece I used the following:
- Tall Vase SIMILAR HERE
- Instant Floral Foam HERE
- Shears HERE
- White Daisy Mums
- White Carnations
- White Lavender Fuji Mum
- 1 Pink Tulip
- Casino Filler
- Lime Cushion Mums
- Yellow Mums
- Greenery – Pittosporum
- Alstroemerias (Peruvian Lily)
- Purple Snapdragon
- Pussy Willow Stems (optional)
- Dark Purple Stems (optional)

Step #1 Choose Your Vase and Prepare the Instant Foam
For this arrangement, I used a cubic ceramic vase with one piece of instant floral foam. Before soaking the foam, properly size it to fit the vessel. Leave 2 – 3 inches of foam above the rim. By doing this, it allows us to place flowers on the sides which will create a fuller arrangement.
Soak the foam in water in a container, before adding to vase. Allow the foam to soak up the water and sink to the bottom of the container on its own, do not push the foam into the water. Doing this can leave dry areas in the foam, causing flowers to wilt.
Since the foam was snug in this vase, I didn’t see the need to use floral tape.

Step #2 Begin Inserting Large Stems
Begin the arrangement with the largest Fuji flowers followed by the carnations. One Fuji flower in the center will anchor the arrangement. Insert them into the foam at varying heights and angles.

Step #3 Use Greenery to Fill in Space
Next comes the Pittosporum (greenery), I used just a few sections to fill in some space before adding more flowers. I only use the tips of a branch, once a section is cut that piece is not suitable to use and won’t look nice in the centerpiece due to the “cut”.

Step #4 Adding Tall Stems
Then I added the alstroemerias to the top of the foam. I like to use my longer stems on the top instead of the sides.

Step #5 Removing Allergen from Flowers (Optional)
If you are allergic to Alstroemerias (aka Peruvian Lily), did you know it’s possible to remove the allergen. The seeds in the middle of the flower are what causes people to be allergic to this pretty stem.
 My husband is very allergic to these, so I removed the seeds in the center of the flower. Often times, the petals of the lily will be closed when you purchase them, but you can carefully fold back the petals and pick out the seeds.

Step #6 Prepare Daisy Mums by Individually Cutting
The white daisys are next. They come grouped together, but look better in a centerpiece if used separately. Carefully cut each stem with the shears and insert into foam in varying areas.
Make sure to turn your centerpiece often, making sure you are reaching all areas and creating a nice balance on all sides.
 I then added purple Daisys around the bottom of the vase….
 Along with Lime Cushion Mums, those are the green ones. They come lumped together on a stem as well, and look prettier individually used in a centerpiece. I also had a couple dark purple flowers I added at the last minute for a pop of color along with 1 snapdragon stem.
 The dark purple flowers were added to the bottom and top of the centerpiece.

Step #7 Adding Filler
Lastly, I added casino filler, the small clusters of white wild flowers. I left these gathered together since they are so small, they look nice bunched together.
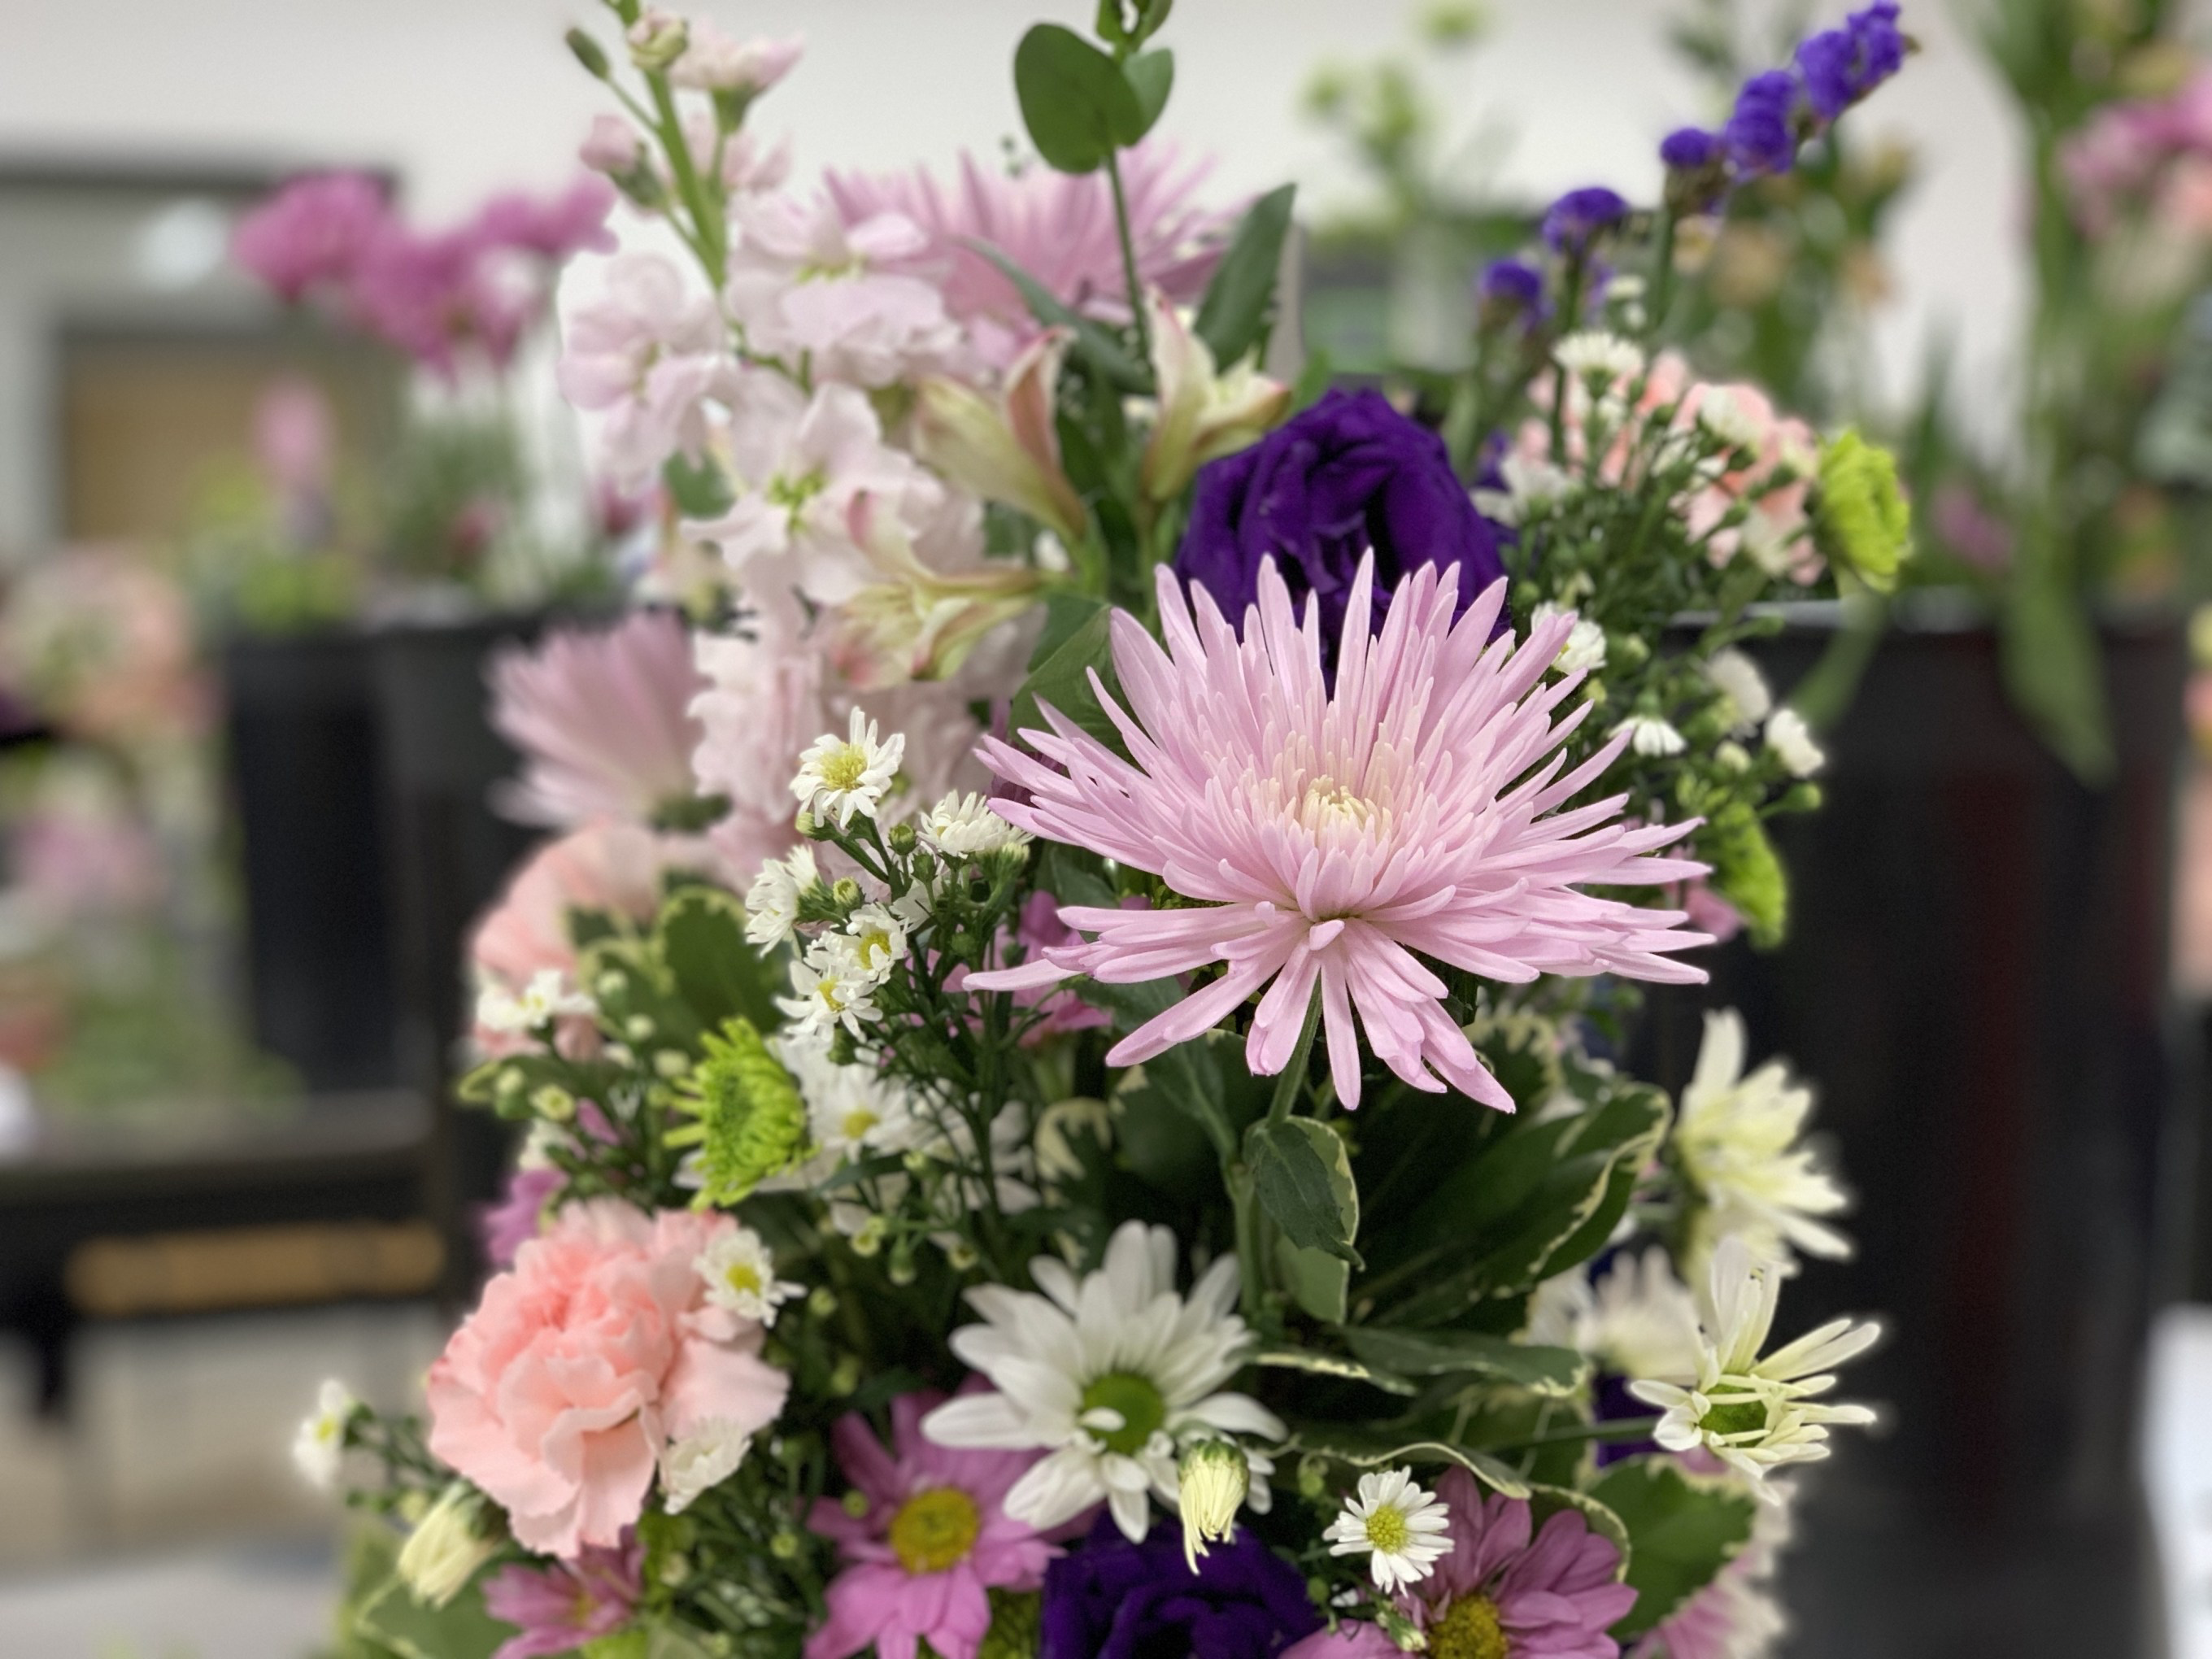
 My centerpiece is complete! Using varying colors and varieties of florals makes for a full and bright arrangement. At the very last minute, I decided to add in yellow mums, which changed the look but tied into the yellow on the vase.
 Do you all love playing with florals as much as I do?
For more posts about floral arranging, please subscribe to Happy Haute Home and follow along on Pinterest HERE, and Twitter HERE and feel free to pin and tweet your favorite pics from Happy Haute Home.
You can also get daily home decor inspiration by following along on Instagram HERE. If you use any of my tips to make a floral arrangement, tag me on Instagram, I would love to see it!


Yeah that’s me! Who’s on earth wouldn’t love flowers?! 🙂 Great tips, Denise!
Flowers make everything better, thanks Mel!
Always love your flower arrangements, Denise. Gets me inspired.
Hi Donna👋, I’m so glad to hear that. Flowers inspire me too, especially after a long and cold winter. Thanks for visiting 🙂
I never thought of leaving some foam for a fuller look at the bottom – brilliant! Thanks for all the great tips and inspiration, Denise!
Isn’t that Brilliant? It makes for a very full, tall and beautiful centerpiece. Thanks for stopping in Barbara!
My Garden Club is meeting at my home Tuesday. I plan to get flowers for an arrangement Monday. You have given me a great idea. Your arrangement is beautiful.
Yay!!! So happy to hear that Sandra, would love to see your beautiful arrangements!
This arrangement is beautiful! I did not know about removing allergens from flowers and boy do I need it! Thanks for the great tip. I always enjoy reading your posts.
Hi Kristin, so glad you like the posts! I recently learned that little tidbit too, just had to pass it along to you all 🙂
So beautiful, Denise! Truly flower arranging is an art!! 💜
It really is! It looks so easy but it definitely takes practice. Hugs!
Flowers (the guide uses Fuji flowers and carnations, but you can choose what you prefer for a spring theme)
Yes, you can choose your favorites absolutely
Celebrate spring with vibrant floral arrangements. Follow this step-by-step guide to create a fresh and colorful spring display.
Thank you!